
Do you have your own avatar in your profile pictures? If so, I highly recommend giving this a try. This neon avatar will not only just look cool, but it also gives a professional vibe. And besides, it is very simple to do. So today we’re gonna see how to create a neon avatar.
Thanks to Marcin P for his useful guide and for simplifying this editing process. So, without further ado, let’s check out how to achieve this neon look on your photos.
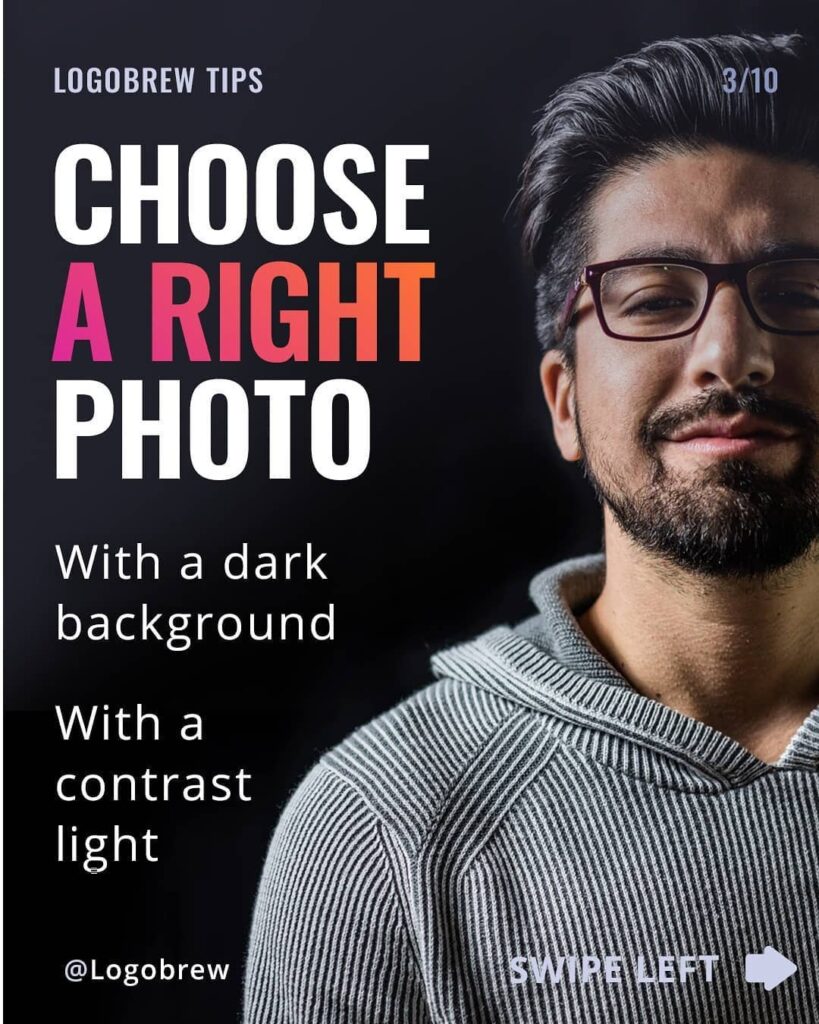
1. Choose A Right Photo
Preferably, choose a photo with a dark background and with a contrast light. If your photo doesn’t have a dark background, you can edit that in, but it’s handy to have a photo with a dark background right of the bat.
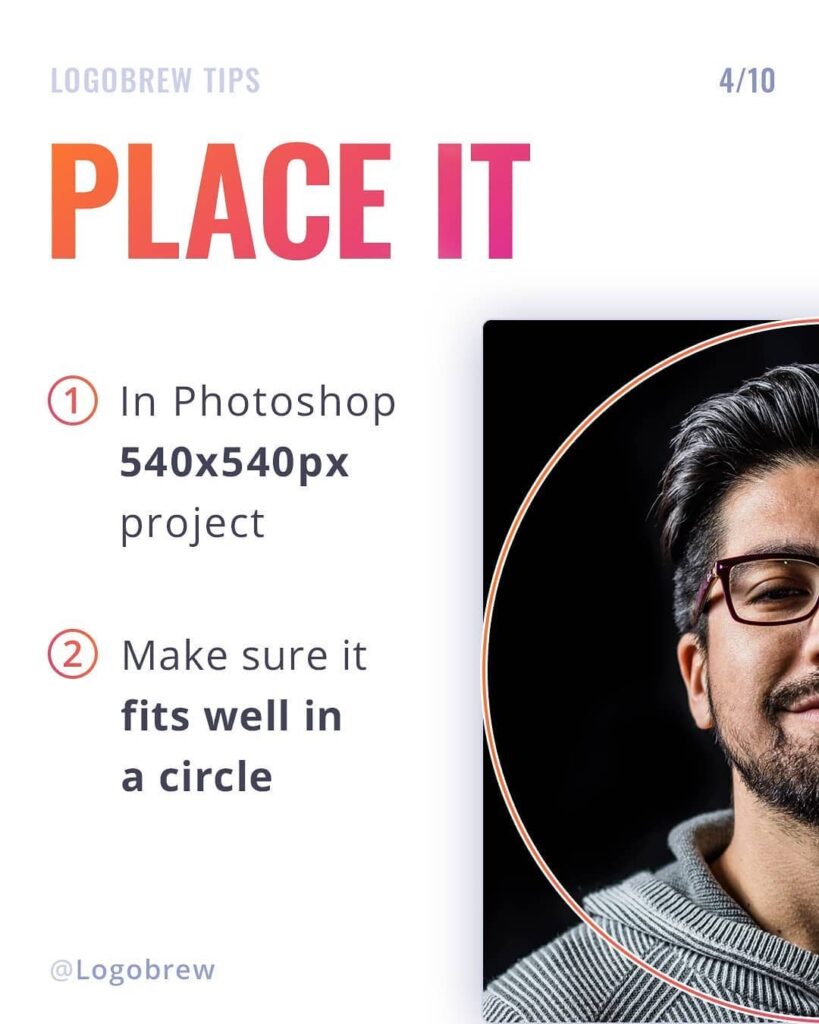
2. Place It
In Photoshop, create a 540px x 540px project and make sure it fills well in a circle because later you’re going to use that as a profile picture which will be a circle.
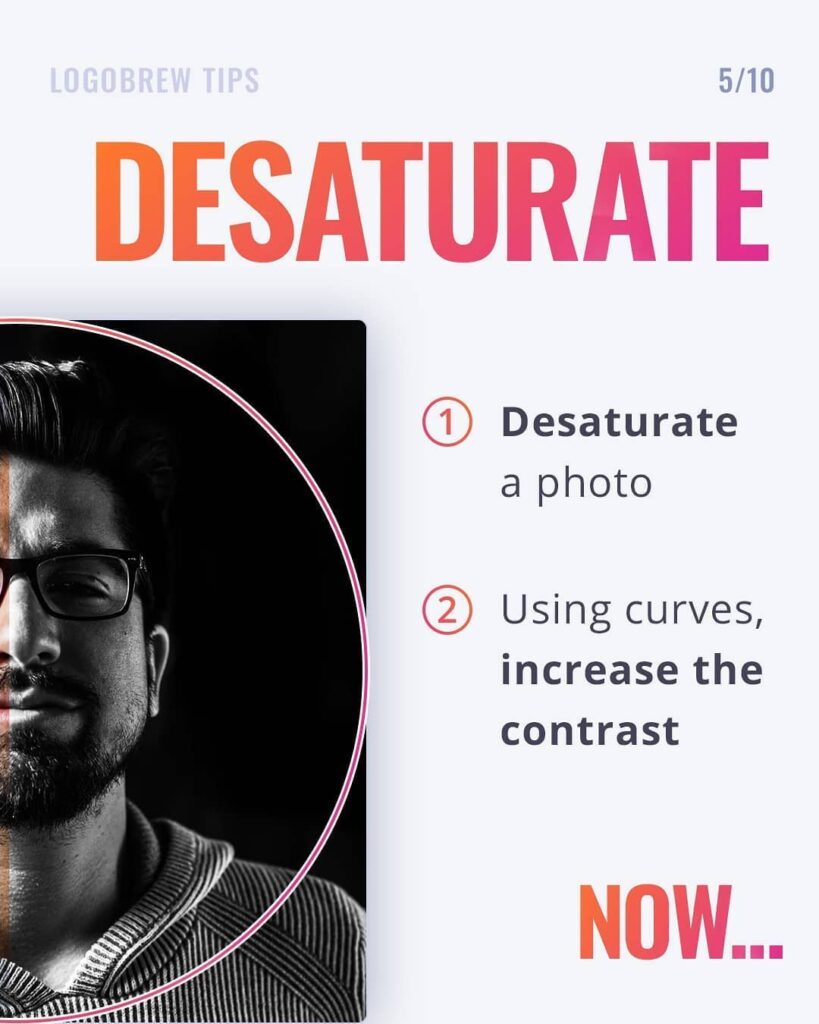
3. Desaturate
After placing the photo, desaturate it. And use the curves to increase the contrast.
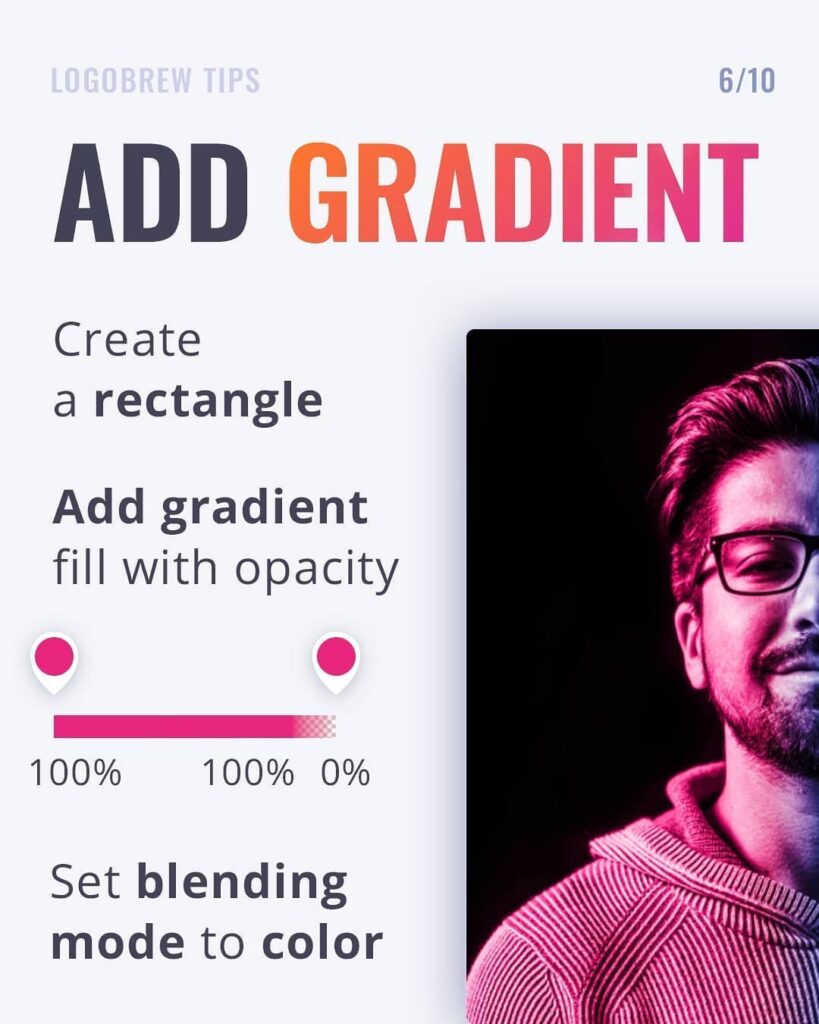
4. Add Gradient
Create a rectangle, which will be half of your photograph. And add gradient fill with opacity (refer to the image below). And set the blending mode to color.
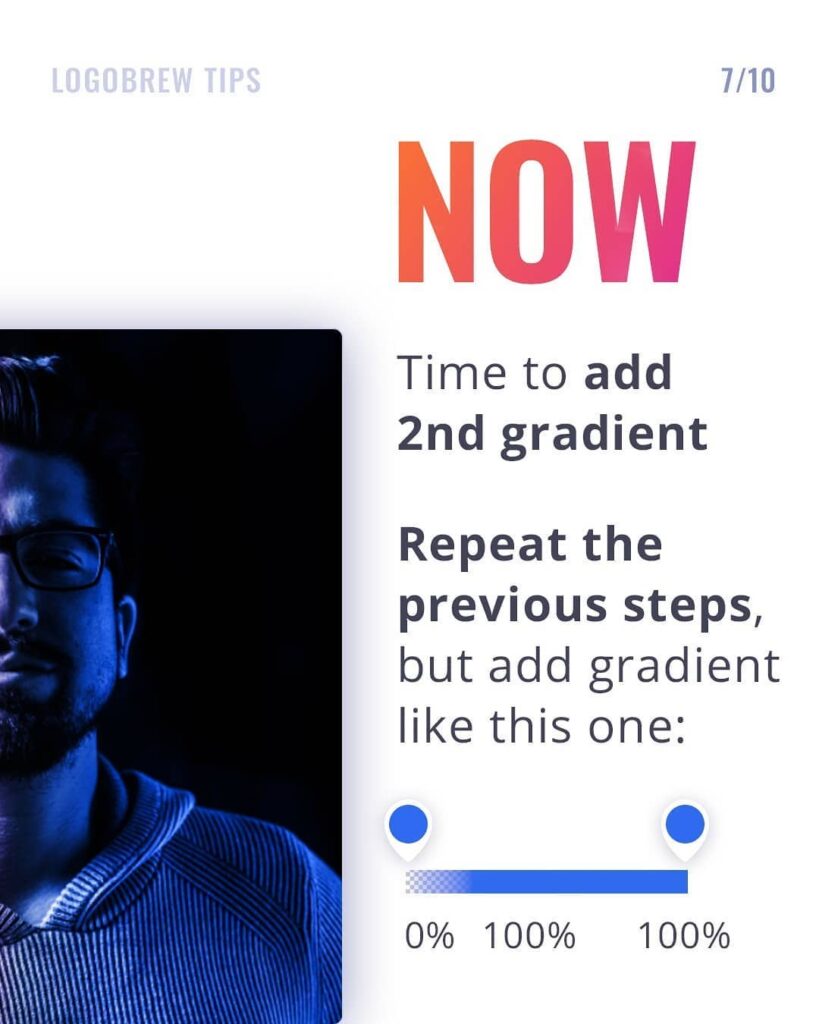
5. Add The 2nd Gradient
Now, in the other half of the photo, add the 2nd gradient. Just like the previous step but add like its shown in the image below.
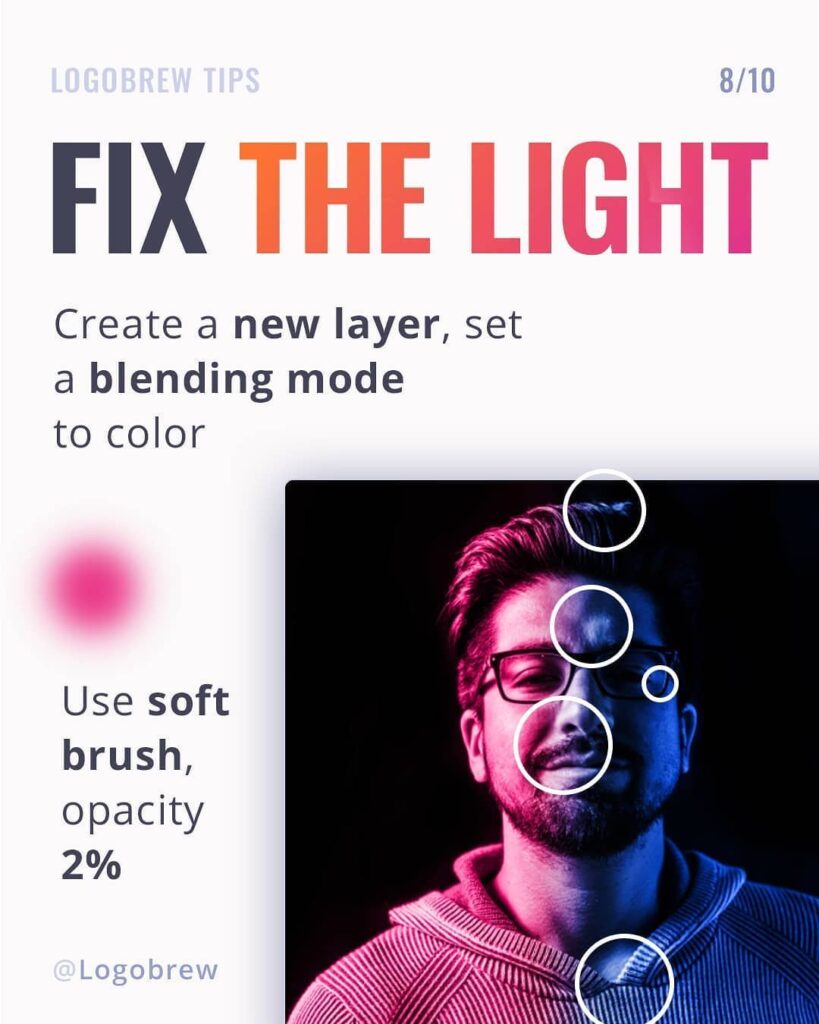
6. Fix The Light
To fix the light, create a new layer. And set the blending mode to color. Then use the soft brush at the opacity of 2% to fix the light.
7. Export The Image
Great job!! Now all you need to do is export the image, and then use it where ever you want 🙂

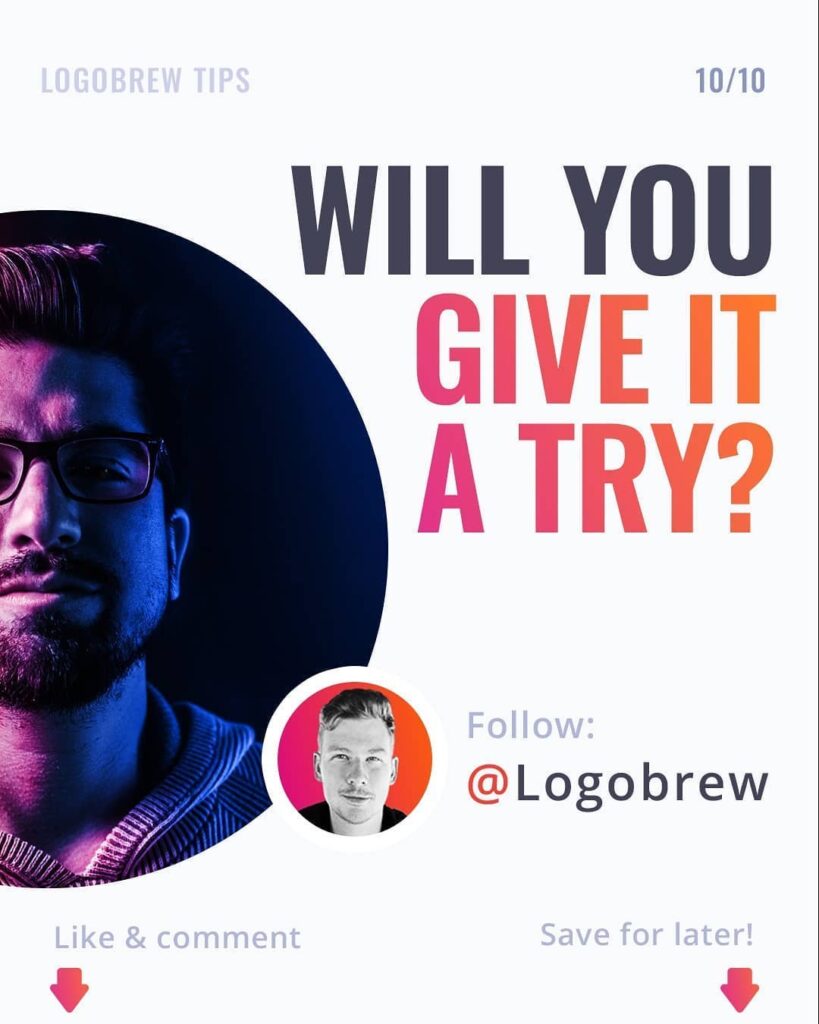
Will You Give A Try?
Will you try what you just learnt? Check out Marcin P for more such short and helpful tutorials.
Thank you!!
Did you find the guide helpful? If so, please share it with a friend who might like it as well. Thanks for your time.