Do you like the embossed effect as I do? It is nice and it adds an extra depth to the element which we want to highlight. If you want to apply it in your design and don’t know how to create an embossed effect, don’t worry. It is pretty easy to create as you’ll see in the upcoming steps.
This guide is by Gustavo Zambelli, who is an awesome graphic designer and illustrator. Do check out his work here. So, without further ado, let’s get to the steps.
Step 1:
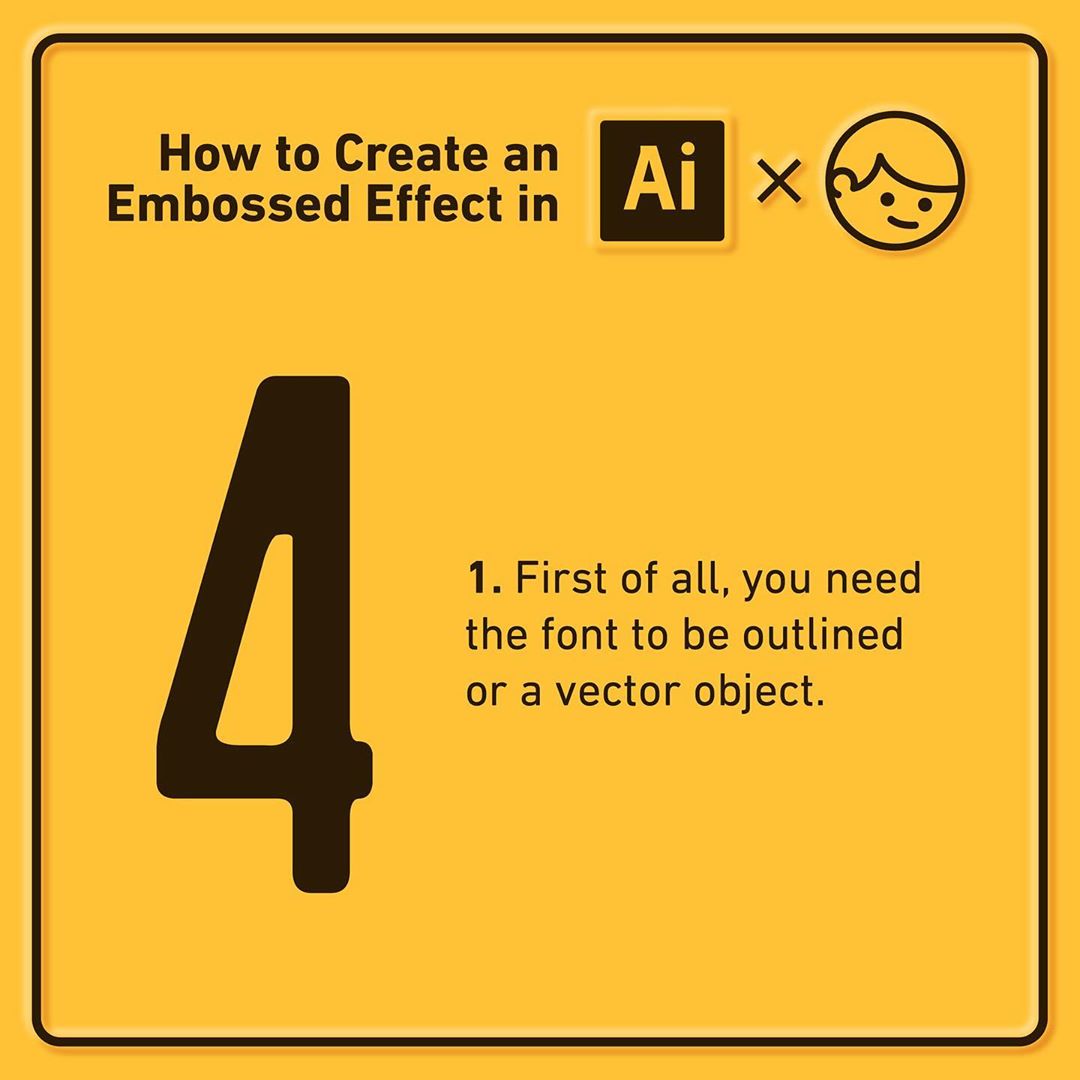
First of all, you need the font to be outlined or a vector object.


Step 2:
Duplicate the object, add a stroke and expand it.


Step 3:
Duplicate the last object to create a shine (up-left) and a shadow (down-right).


Step 4:
Select the expanded object, the shine, and the shadow, with all these items selected click the “Merge” option on the Pathfinder panel.
Once you do that, erase the first expanded object (the green one).


Step 5:
Improve the corners where the “shine” and the “shadow” meets.


Step 6:
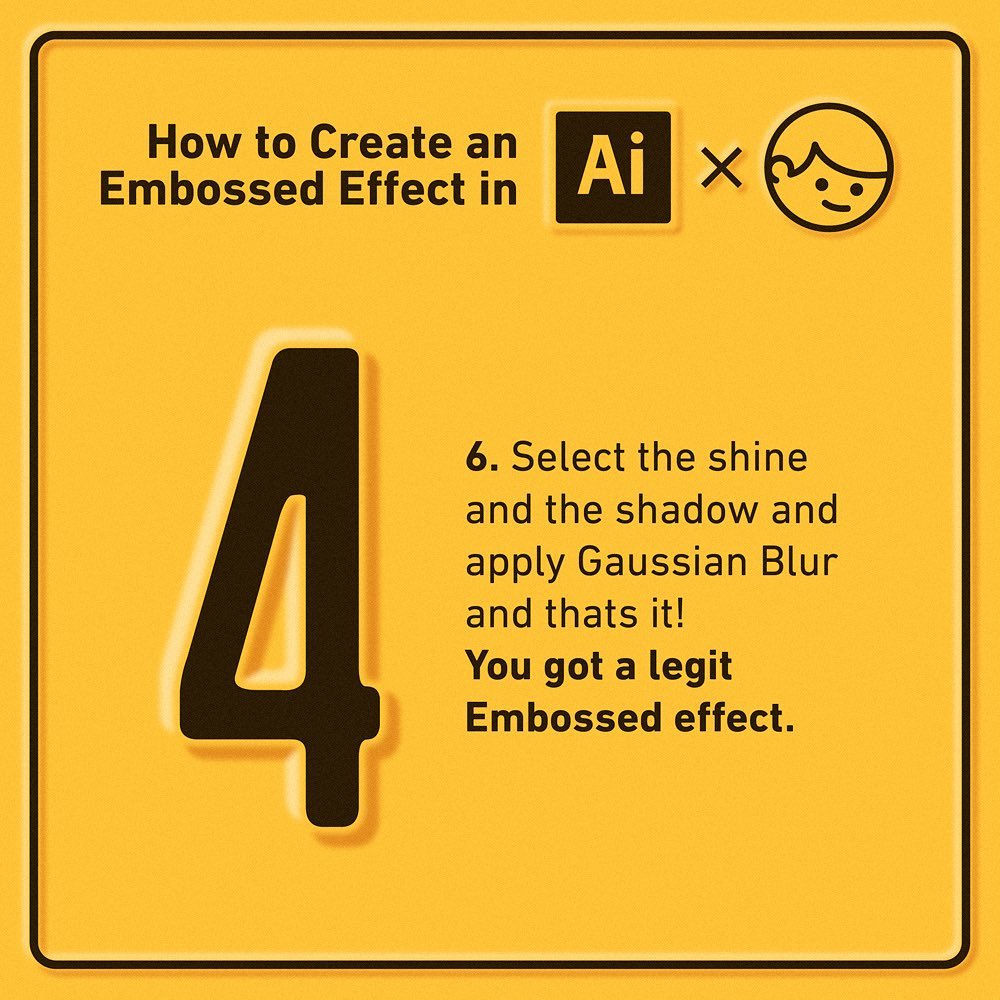
Select the shine and the shadow and apply Gaussian Blur and that’s it! You got a legit Embossed effect.


That’s all you need to do. Wasn’t that simple? If you liked the guide, do share it with your friends and also check out Gustavo Zambelli for some cool design work.

